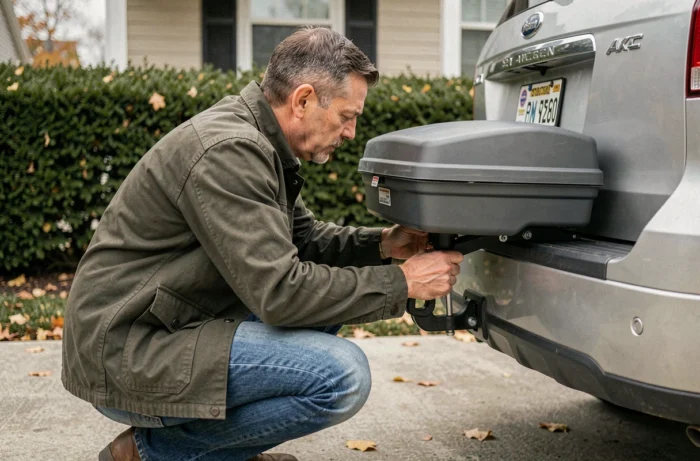
A hitch-mounted box can be installed in less than ten minutes, provided you master three often underestimated parameters: the allowable vertical load, the tightening torque of the locking mechanism, and the compliance of the rear signaling. Here, we detail the technical points that make the difference between a reliable installation and an accessory that ends up vibrating on the highway.
Vertical load on the hitch ball: the parameter that conditions the entire installation
The maximum allowable vertical load on the ball is the most overlooked data when choosing a hitch box. It is listed on the hitch’s identification plate (value S) and in the vehicle’s maintenance manual. The weight of the empty box plus its contents must never exceed this vertical load.
We recommend weighing the entire box + load with a spring trailer scale before the first trip. An excess, even slight, alters the behavior of the rear axle: loss of grip on the front axle, increased braking distances, premature wear of the suspension bushings.
If you are looking to understand how to install a hitch box correctly, always start with this check. The heaviest items (tools, water reserves) should remain in the vehicle’s trunk, not in the rear box.
Mounting mechanism on the ball: tightening, play, and anti-sway
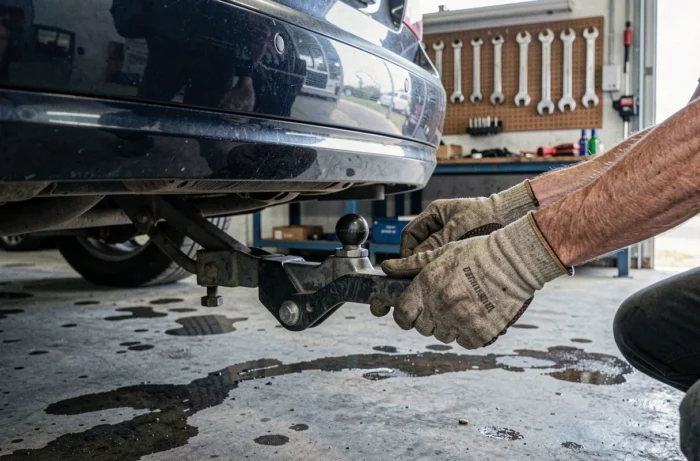
The majority of hitch boxes use a cradle system that locks around the ball via a lever or screw. The residual play between the cradle and the ball is the primary cause of noise and vibration on rough roads.
Adjusting the cradle to the ball
Hitch balls come in several diameters. The most common in Europe is the standardized ball, but some removable hitches may have a slightly worn or oxidized surface that reduces contact. Clean the ball with fine sandpaper before each installation.
The tightening lever should provide a firm resistance when closing. If the locking occurs without effort, the cradle is too wide or the ball is too worn. Then add an anti-play shim (rubber washer or brass ring depending on the model) between the cradle and the sphere.
Anti-sway device
Some high-end boxes include a lateral locking mechanism in addition to vertical tightening. On entry-level models, we find that a simple stainless steel cable tie around the ball stem is sufficient to significantly reduce lateral play. This makeshift solution is better than a box that sways with every lane change.
Rear signaling and license plate: often ignored obligations
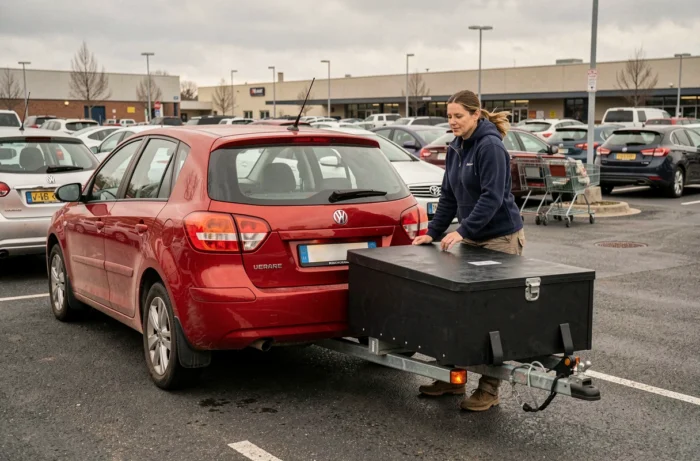
A hitch box partially or completely obscures the vehicle’s rear lights and license plate. Regulations require repeated signaling and an additional dedicated plate as soon as these elements are no longer visible.
- The additional plate must comply with the regulatory format and be fixed in a non-removable way on the box or its platform. Simply moving the plate from the vehicle to the box is not allowed.
- Position, stop, and turn signal lights must be transferred via an electrical harness connected to the hitch socket. A reflective panel alone is not sufficient.
- If the box exceeds the width of the vehicle, side reflectors are required in addition to the rear signaling.
The absence of a plate or transferred lights constitutes an offense that can be noted during a roadside check. We find that many users consider the plate a secondary detail, whereas it is the primary reason for fines related to hitch boxes.
Hitch box and highway tolls: no change in class
The hitch box does not change the toll class of the vehicle. Unlike a towed trailer, which can shift a light vehicle into class 2, a box mounted on the ball does not alter the dimensions recognized by toll gantries.
This point reassures motorists who hesitate between a roof box and a hitch box for cost reasons. The rear box does not increase height (no risk of hitting in underground parking) nor the length counted at the toll.
Checks before each trip and maintenance of the hitch box
A well-mounted box at rest can loosen after a few hundred kilometers. The check is not a one-time task.
- Check the tightening of the cradle on the ball after the first fifty kilometers, then at every stop on a long trip.
- Test the transferred lights (stop, turn signals, parking lights) before each departure. A faulty connection on the hitch socket is common after washing or prolonged exposure to moisture.
- Inspect the hinges and lock of the box. A worn door seal allows water to enter and ruins the contents long before the structure shows signs of fatigue.
- Grease the hitch ball with a thin layer of marine grease to limit oxidation and facilitate the next disassembly.
The hitch box remains one of the simplest loading solutions to implement on a light vehicle, provided that vertical load, mounting, and signaling are treated as three non-negotiable steps. A sloppy installation on any of these points negates the practical benefits that the accessory is supposed to provide.